|
This is what you will need....
2 rolls 1" white cloth surgical tape
2 pieces of something stiff to use as splits almost like a ruler or yard
stick, you can use a tongue depressor or piece of wood, plastic or pvc
pipe cut in halves or quarters, depending on how big your puppy is for
example. It must be long enough to reach from the puppys tip toes when
the leg is extended to the length just below the elbow.
2 rolls of gauze wrap for cushioning
2 rolls of vet wrap
2 pieces of suede or rubber for traction about 4X4'"
This is what you do, you will need 2 people...
1. Start out be laying the puppy on his side and cutting your splints
to fit from the tip of his out stretched toe to just blow the elbow.
Make sure their are no sharp points so it doesn't rub on the chest or
ribs.
2. Place one piece of 1" white surgical tape down the front of the leg
and extend it a foot past the tip of his toes. Now do the same down the
back of the leg extending it a foot past the tip. This can be tricky to
keep from getting stuck together so take your time and have the second
person hold the puppys' leg steady.
3. Using the 1" tape Place bands around the top and middle of the leg
to help hold the tape in place. Be careful not to get it to tight you
don't want to cut off the circulation to the foot, right!
4. Take a roll of the gauze and wrap the whole leg from top to bottom
for cushion.
5. Take your splint and extend it out in front of the pups foot, stick
the back side of the tape on the backside of the splint. Then do the
same with the front side of the tape to the front side of the splint.
****This is the important one*****
6. Fold the splint back now so that it supports the entire outstretched
leg from the tip toe to right below the elbow.
7. Tape it securely in place with the 1" tape using bands around the
leg.
*****The puppys leg is perfectly straight now with his toes pointed, he
should not be able to flex at the "Wrist"/"Pasterns"/"Carpus" at all.*****
This may take several times to adjust it so take your time and don't
loose your cool because it will work.
****Your puppy should still be able to move his elbow normally****
8. Once you have it all adjusted, wrap the leg with vet wrap.
9. Carefully do the other side.
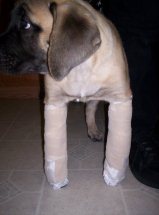
You have now splinted both legs straight at the wrist so when the puppy
stands it is actually walking on the middle two nails of the tip toes
but mostly the splint
 x x
Someone just recently sent me these of their puppy in splints.
*****Its going to be very tricky for him to walk and you have to be very
careful that he doesn't trip forward because he cannot catch himself and
could hurt his neck in a fall. So plan on staying with him the whole
time, say on a weekend so you can help him up and down and potty walks
outside on a leash or in a sling type of arrangement. Hopefully, he
will sleep the whole time, :)
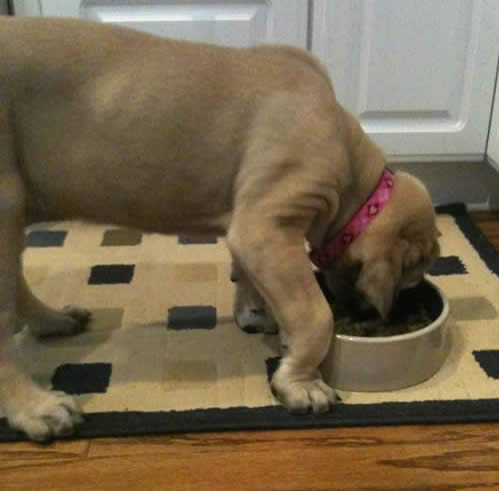
10. Lastly, My floors were kind of slippery so this is how I compensated for that...
I took a piece of suede or rubber and tape it to the bottom of the
splint like a glove for traction if you have tile floors. Or just have
alot of dirt or gravel outside to help keep anything from getting up
into the toes.
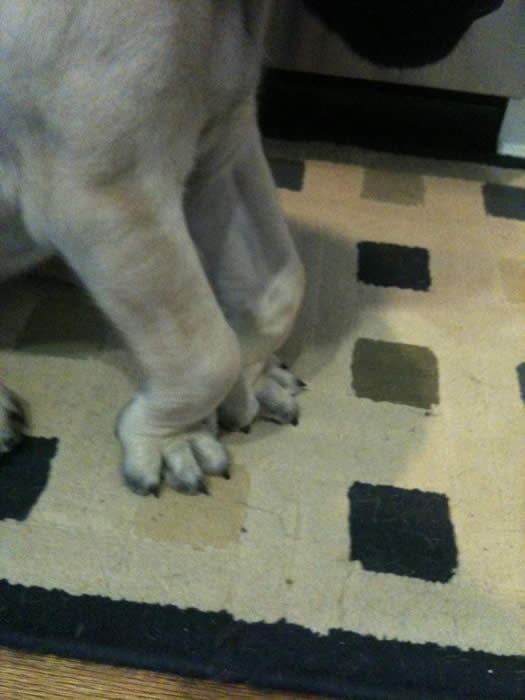
***Now leave your tip toe splints on for 24 to 48 hrs (depending on severity), when you take them off your pup will be down on his pasterns and you will think he's ruined.
Over the next couple of days he will tighten back up and come back to a normal pastern angle. If he starts to go over again on his pasterns,
repeat the whole process again.****
It usually only takes once and its a pain in the butt for that weekend
but your pup will be cured! His toes will turn into cat feet instead of
crab claws.
If you need to talk to me about this in detail or for clarification
you can contact me and will set something up by phone....
Dana at Redgate
Redgate Mastiffs
Greeley, Colorado
970-518-7737
redgatemastiffs@gmail.com
http://www.redgatemastiffs.com |


 x
x